
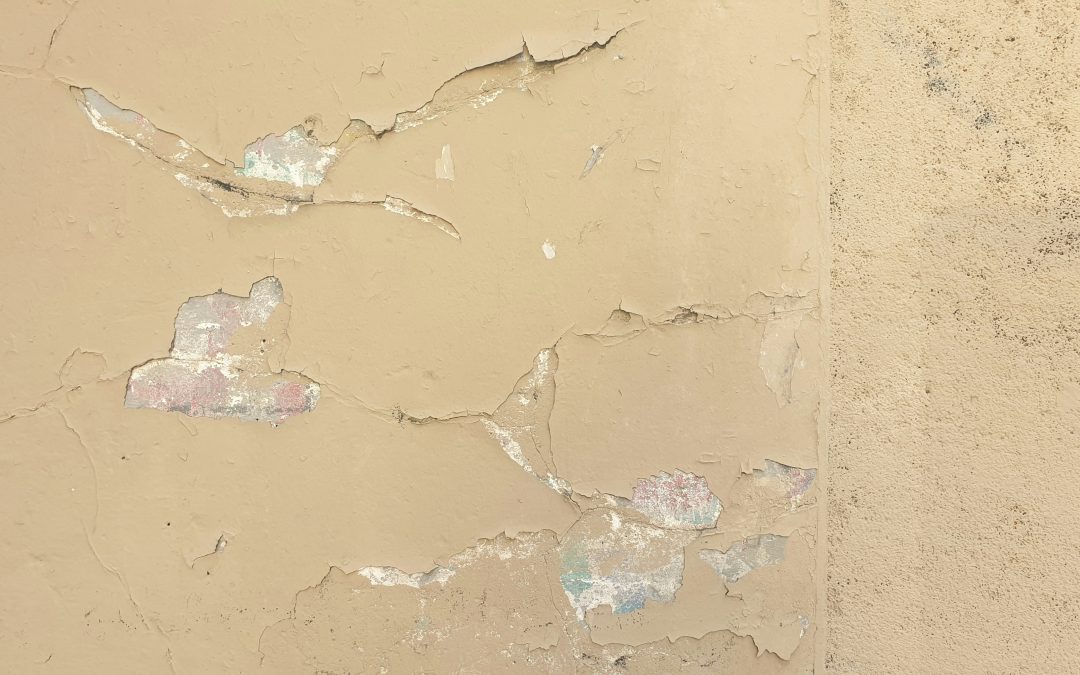
If you’ve just peeled off your old wallpaper and are staring at a wall that looks like it’s been through a battle—don’t panic. Learning how to refinish a wall after removing wallpaper is easier than it seems, especially if you know the right steps. With a little patience and the right materials, you can transform that rough, patchy surface into a smooth, paint-ready wall.
Why Refinishing Is Important
When wallpaper comes off, it often leaves behind glue residue, small holes, and uneven textures. Refinishing your wall ensures a clean surface for paint or new décor. According to a 2024 DIY Home Trends report, 63% of homeowners say wall refinishing dramatically improves how fresh and polished a room looks—so it’s definitely worth doing right.
Step 1: Clean the Wall Thoroughly
Start by cleaning the wall to remove leftover adhesive and dust. Use a sponge and warm water mixed with a few drops of mild dish soap. If you feel any sticky spots, gently scrub them using a wallpaper remover or vinegar-water mix. Cleaning helps new paint or primer stick properly and prevents future peeling or bubbling.
Pro Tip: Run your hand across the wall—if it feels tacky, it still has glue. Keep cleaning until it’s completely smooth.
Step 2: Repair Any Damage
Once the wall is dry, look closely for holes, cracks, or dents. Apply spackling paste or joint compound using a putty knife to fill imperfections. Let it dry completely (usually 4–6 hours, depending on the product), then lightly sand the area. This step gives your wall a clean, even base that looks flawless after painting.
Small details make a big difference. Even minor dents can show through paint if not fixed, so don’t skip this step.
Step 3: Sand the Surface
Next, sand the entire wall using fine-grit sandpaper (around 120–150 grit). Sanding helps remove any remaining adhesive and evens out the texture. Move your hand over the surface to check for rough spots.
If your wall had multiple wallpaper layers or thick glue buildup, you might need a second round of sanding. Always wear a mask while sanding to avoid inhaling dust.
Step 4: Wipe and Prime
After sanding, wipe the wall with a damp cloth to remove all dust. Once it’s dry, apply a primer designed for previously wallpapered surfaces. Primer seals the wall, covers any discoloration, and ensures better paint adhesion.
Oil-based or shellac primers work best for this kind of job since they block any leftover residue that might bleed through the paint. Allow the primer to dry completely before painting—usually overnight.
Step 5: Paint and Finish
Now comes the fun part—painting! Choose a high-quality interior paint that suits your space. Apply two coats for best coverage, allowing each to dry between applications. Use a roller for large areas and a brush for edges and corners.
Once you’re done, step back and admire your work. The wall will look smooth, clean, and completely transformed.
Common Mistakes to Avoid
- Skipping primer: Paint won’t stick well to unprimed surfaces, especially if glue remains.
- Over-sanding: Too much sanding can damage the drywall underneath.
- Painting too soon: Make sure the surface is fully dry after cleaning and priming.
Quick Recap
Here’s what you’ll need for refinishing:
- Sponge and warm water
- Wallpaper remover or vinegar
- Spackling paste and putty knife
- Sandpaper (120–150 grit)
- Primer and paint
- Paint roller and brush
Following these steps ensures your wall looks as if it was never covered in wallpaper at all.
Final Thoughts
Learning how to refinish a wall after removing wallpaper is one of those home improvement skills that pays off instantly. It’s about patience and precision, not perfection. With the right prep, you can bring your wall back to life and create a perfect base for any style or color you want next.
Remember: the key is in the prep work. Clean, repair, sand, prime, and paint—that’s your simple roadmap to a flawless finish.