
Updating a kitchen does not always require a full remodel. Sometimes, the simplest changes can deliver the biggest transformations. Gel staining is one of those projects that can turn outdated cabinets into modern showpieces without breaking the bank. If you have been curious about gel stain cabinets before and after results, this guide walks you through the process, tips, and what to expect.
Why Choose Gel Stain for Cabinets
Gel stain is thicker than traditional wood stain, almost like pudding in consistency. Instead of soaking into the wood, it sits on the surface, which gives you more control over the finish. This makes it especially useful for cabinets that may have uneven surfaces or previous finishes.
Some key benefits include:
- Less prep work: You do not need to strip old finishes completely.
- Consistent finish: Great for beginners since it does not drip easily.
- Budget-friendly: A fraction of the cost of replacing cabinets.
- Versatility: Works on wood, veneer, and even laminate with proper prep.
According to HomeAdvisor, refinishing cabinets can cost anywhere from $1,500 to $5,000, while gel staining supplies typically fall under $200. That makes it an affordable DIY option.
Preparing Cabinets for Gel Stain
The before-and-after magic starts with good prep. Skipping steps here can affect your final results.
- Remove hardware: Take off handles, knobs, and hinges.
- Clean thoroughly: Degrease with a strong cleaner since kitchens accumulate grease over time.
- Light sanding: A quick scuff with fine-grit sandpaper helps the gel stain adhere.
- Protect surfaces: Tape around edges and cover countertops or floors.
Even though gel stain requires less sanding than other finishes, a smooth, clean surface ensures the stain bonds properly.
Applying Gel Stain
Now comes the fun part: transforming your cabinets.
- First coat: Apply the stain using a foam brush or clean cloth. Work in thin, even strokes.
- Drying time: Let it dry fully, usually 6 to 8 hours depending on the product.
- Second coat: Add another coat for richer color and coverage.
- Optional third coat: If you want a deeper shade, apply an additional layer.
- Topcoat: Seal with a clear polyurethane for durability, especially in high-use kitchens.
One trick many DIYers recommend is working on cabinet doors flat on a table instead of upright. This prevents streaking and makes it easier to spread evenly.
Gel Stain Cabinets Before and After Results
So, what should you expect once the project is complete? The results are dramatic.
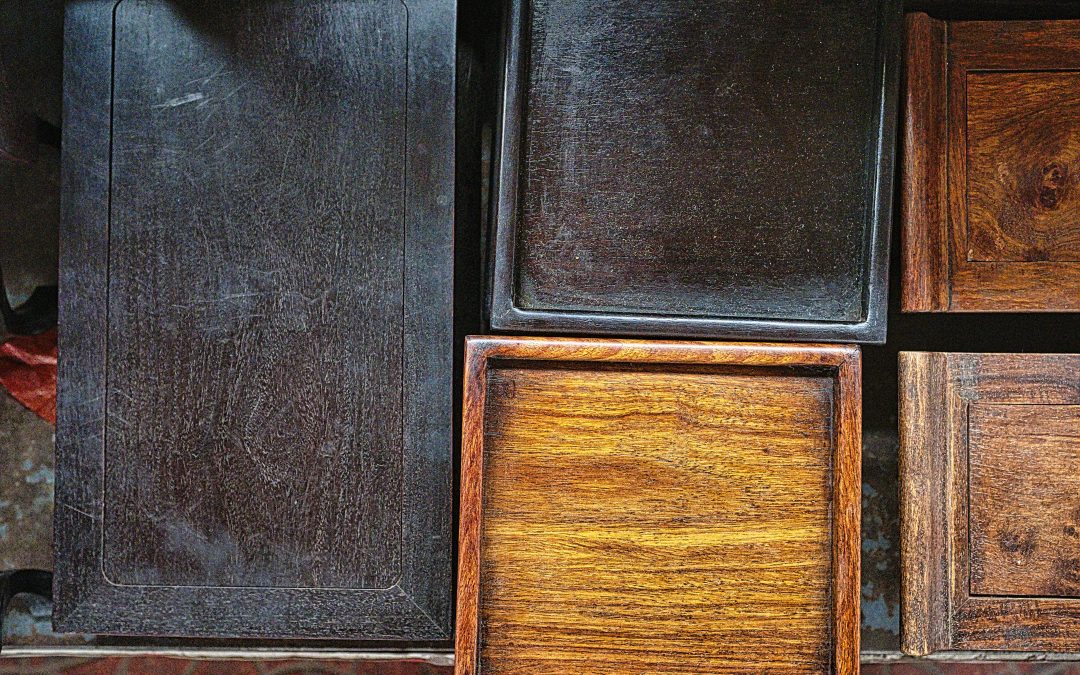
- Before: Cabinets may look faded, scratched, or stuck in another decade’s design. Colors like orange oak or dull maple can make kitchens feel dated.
- After: Rich, modern finishes breathe new life into the room. Deep espresso, warm walnut, or even gray-toned stains are popular choices.
The contrast between gel stain cabinets before and after is not just about color. It also makes the kitchen feel fresher, cleaner, and more cohesive. Paired with updated hardware, the transformation can rival a full remodel.
Tips for Best Results
If you want your cabinets to look professionally done, here are a few practical tips:
- Always test the stain on the back of a door before committing.
- Do not rush drying times. Patience leads to a smoother finish.
- Use long, even strokes in the direction of the wood grain.
- Upgrade hardware afterward for a complete refresh.
- Keep extra stain on hand for touch-ups in the future.
With care and attention, your cabinets can look brand new for years.
Final Thoughts
The power of gel stain cabinets before and after transformations lies in their simplicity. With minimal supplies, some patience, and a weekend of effort, you can completely change the look of your kitchen. Instead of spending thousands on new cabinetry, gel stain offers an affordable and satisfying solution.
If you are ready to give your kitchen a facelift, start small. Try staining a bathroom vanity or a single cabinet door first. Once you see the transformation, you will be inspired to take on the entire kitchen.