
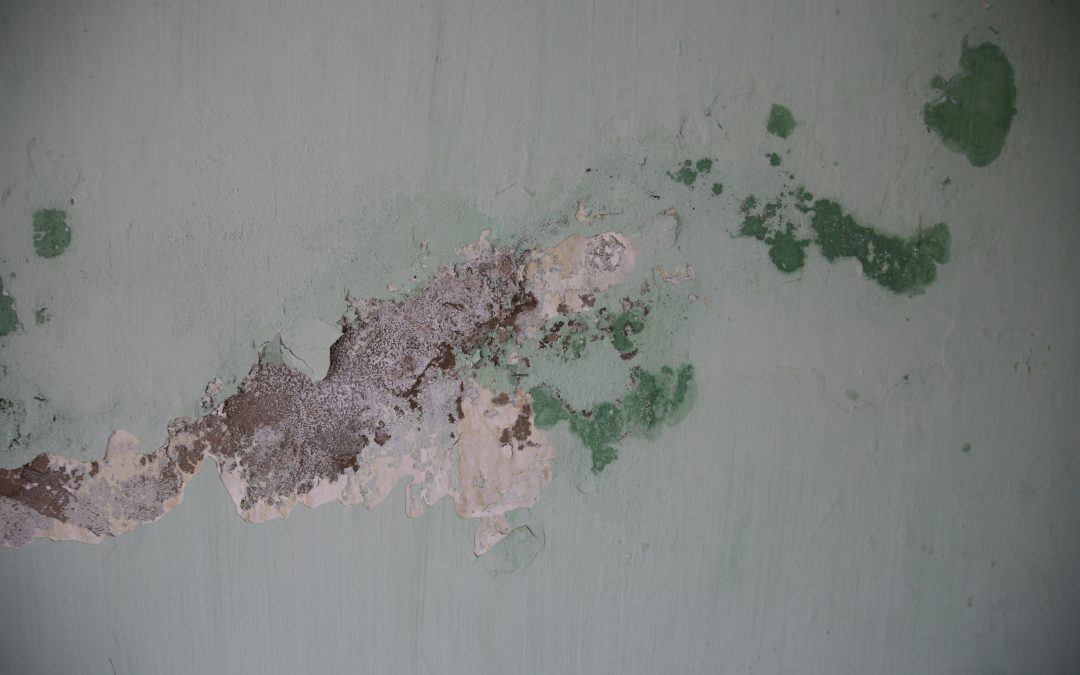
Few things make a room look more neglected than walls with peeling or flaking paint. It’s tempting to just grab a brush and paint over it, but if you’ve ever tried that, you know the problem comes right back. The paint keeps peeling, cracks appear, and the wall looks worse than before. The good news? You can restore your walls to a clean, professional finish with a little time, the right tools, and proper preparation.
In this guide, we’ll explain exactly how to cover flaking paint on walls—including why it happens, how to fix it properly, and how to make sure the new paint lasts for years.
Why Paint Flakes or Peels Off Walls
Before covering flaking paint, it helps to understand what caused it in the first place. Paint doesn’t just peel randomly—it’s a sign that something went wrong underneath. Common causes include:
- Moisture: Damp walls from leaks, humidity, or poor ventilation can cause paint to lose adhesion.
- Poor surface prep: Painting over dust, grease, or old paint can prevent proper bonding.
- Wrong primer or paint type: Using the wrong product for your surface (like interior paint on a bathroom wall) can cause peeling.
- Aging paint: Over time, paint naturally loses elasticity and begins to flake away.
- Temperature changes: Expanding and contracting walls due to heat or cold can crack and loosen paint.
Identifying the cause helps you fix it permanently—not just hide it temporarily.
Step 1: Identify and Fix the Underlying Problem
If moisture is the culprit, address that first before doing any painting. Check for signs like dark patches, bubbling paint, or mold. Repair roof or plumbing leaks, improve ventilation, or use a dehumidifier if necessary.
If the paint is just old and cracked, you can move straight to preparation and repair.
Step 2: Gather the Right Tools and Materials
Here’s what you’ll need for a smooth and durable finish:
- Drop cloths or plastic sheets
- Safety goggles and mask
- Paint scraper or putty knife
- Sandpaper (80–120 grit for rough areas, 180–220 grit for smoothing)
- Patching compound or wall filler
- Primer (preferably a stain-blocking or bonding primer)
- Paintbrushes, roller, and tray
- High-quality wall paint suitable for your room’s conditions (matte, satin, or semi-gloss)
Having everything ready will make the process smoother and more efficient.
Step 3: Remove the Flaking Paint
You can’t just paint over peeling paint—it will continue to peel and ruin your new finish. Start by scraping off all loose and flaking paint using a paint scraper or putty knife.
Be gentle to avoid gouging the wall. For stubborn areas, use medium-grit sandpaper to smooth edges and remove loose bits. The goal is to create a clean, stable surface where new paint can adhere.
If the flaking covers a large area, consider using a heat gun or chemical paint remover (only for tough cases) to strip the old layers safely. Always wear protective gear and ensure proper ventilation.
Step 4: Sand the Surface
After scraping, sand the entire wall to even out rough spots and feather the edges of the remaining paint. This helps prevent visible lines where old and new paint meet.
Start with 120-grit sandpaper to remove rough texture, then finish with 180–220 grit for a smooth surface. Wipe down the wall with a damp cloth afterward to remove dust and debris.
For large areas, using a sanding pole or an electric sander can save time and effort.
Step 5: Repair and Fill Imperfections
Once the surface is clean, look for cracks, dents, or small holes left behind. Apply a wall filler or patching compound with a putty knife, smoothing it evenly. Allow it to dry completely (usually a few hours) before lightly sanding again to blend it with the rest of the wall.
If you’re dealing with moisture damage, use a mildew-resistant filler or primer designed for damp areas.
Step 6: Prime the Wall Properly
This step is crucial. A good primer seals the surface, prevents stains, and ensures the new paint adheres well.
Choose a primer that matches your situation:
- Bonding primer: Ideal for walls with old paint layers or glossy finishes.
- Stain-blocking primer: Great for covering watermarks, smoke stains, or old colors.
- Moisture-resistant primer: Best for bathrooms, kitchens, or basements.
Apply one even coat using a roller for large areas and a brush for corners and edges. Let it dry according to the manufacturer’s instructions before moving to the next step.
Step 7: Paint the Wall
Now it’s time for the fun part—painting! Choose a high-quality interior paint suitable for the room’s environment. For example, use washable satin or semi-gloss paint in bathrooms or kitchens, and matte or eggshell finishes for living rooms or bedrooms.
Apply the first coat with smooth, even strokes, rolling in one direction to prevent streaks. Allow it to dry fully before applying the second coat for complete coverage.
If you’re painting over darker colors, two or three coats may be needed to achieve a consistent finish.
Step 8: Finishing Touches and Cleanup
After the final coat has dried, inspect the wall for any missed spots or uneven coverage. Touch up as needed. Remove tape, wash your brushes, and clean up your workspace.
If you addressed moisture issues earlier, keep an eye on the area over time. Proper ventilation and humidity control will help maintain your new paint job.
Pro Tips for Long-Lasting Results
- Avoid shortcuts: Skipping sanding or priming might save time now but will cause peeling later.
- Use quality products: Cheap paint or primer tends to flake sooner, especially in humid areas.
- Keep walls dry: Fix leaks, wipe condensation, and use exhaust fans where needed.
- Test before painting: If you’re unsure about adhesion, do a small patch test with primer and paint first.
- Regular maintenance: Clean walls occasionally with mild soap and water to prevent buildup.
When to Call a Professional
If you notice extensive water damage, mold, or large sections of peeling paint, it may be best to call a painter or contractor. Professionals can assess hidden issues, repair drywall if needed, and ensure proper sealing and finishing for long-term protection.
They also have specialized equipment for large or high walls, saving you time and ensuring a flawless look.
Final Thoughts
Learning how to cover flaking paint on walls properly is all about preparation. The secret to a smooth, durable finish lies in scraping away the damaged layers, repairing the surface, and sealing it with the right primer before applying fresh paint.
With the right tools, patience, and care, you can transform peeling, tired walls into smooth, fresh surfaces that look brand new. A few extra steps now will save you from repainting again in just a few months—and keep your walls looking flawless for years to come.