
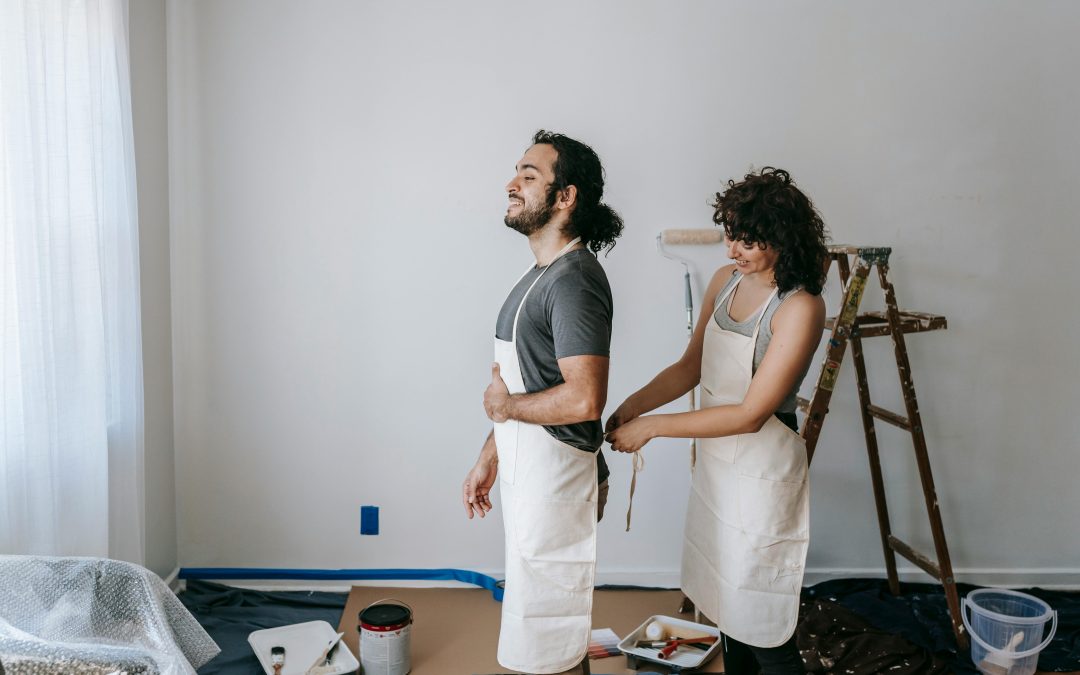
You’ve picked the perfect paint color, and your painting crew is booked. But wait—before the first brushstroke hits the wall, there’s a crucial phase you can’t skip: preparing your home for painting.
Whether you’re tackling the job yourself or hiring professionals, proper prep is the secret ingredient to a smooth, even finish that lasts. Skipping these steps can lead to peeling, uneven texture, or paint that just doesn’t stick right. Luckily, getting your home ready isn’t hard—it just takes a little planning.
Let’s walk through the essential steps to prep your home like a pro and get the most out of your paint job.
Why Preparation Is So Important
It’s easy to think of painting as slapping color on a wall, but in reality, about 60–70% of a successful paint job is in the prep work. According to experts at Sherwin-Williams, skipping prep can reduce paint life by up to 50%, meaning you’ll be repainting a lot sooner than you’d like.
Proper preparation ensures:
- Strong paint adhesion
- Fewer surface imperfections
- Even color and texture
- A longer-lasting, more professional-looking result
Whether it’s interior or exterior painting, the groundwork you lay beforehand sets the stage for a great outcome.
Clear and Clean the Area
Start by giving your painting area some space to breathe.
For interiors:
- Move furniture to the center of the room or out entirely
- Take down wall decor, curtains, and switch plate covers
- Vacuum and dust the room, especially along trim and baseboards
For exteriors:
- Trim any shrubs or trees close to walls
- Move patio furniture, hoses, or garden tools away from the house
- Cover outdoor plants and fixtures with drop cloths
Next, clean the surfaces thoroughly. Dust, grease, and mildew can all prevent paint from bonding correctly.
Recommended cleaning steps:
- Use a mild detergent and water for general surface cleaning
- For grease (especially in kitchens), use a degreaser like TSP
- On exteriors, consider pressure washing for a deeper clean
- Allow everything to dry fully before proceeding
Repair Any Surface Damage
Now’s the time to fix anything that might show through the paint. Even small dents or cracks can ruin the final look.
Interior touch-ups may include:
- Filling nail holes and small dents with spackle
- Sanding patched areas smooth
- Caulking gaps between trim and walls
Exterior repairs may involve:
- Replacing rotted wood or damaged siding
- Caulking cracks in siding or around windows
- Scraping off peeling paint
Take your time here—a flawless surface makes your paint job pop.
Sand and Prime Where Needed
This step is often overlooked, but it’s critical. Sanding creates a lightly rough texture that helps new paint adhere better, especially on glossy or previously painted surfaces.
Sanding tips:
- Use fine to medium-grit sandpaper
- Focus on shiny areas or spots with old, chipping paint
- Wipe down dust with a damp cloth or tack cloth
When to use primer:
- Painting over dark or bold colors
- Covering stains or smoke damage
- Painting bare drywall or raw wood
- Switching from oil-based to water-based paint
Primer gives you a clean slate and helps paint stick better and last longer.
Tape Off and Protect
Unless you’re a seasoned painter with a super-steady hand, painter’s tape is your best friend.
Use tape to protect:
- Baseboards and crown molding
- Window and door trim
- Light switches and outlets
- Flooring edges or tile backsplashes
Also, lay down drop cloths to protect floors and furniture from paint splatters. Cloth drop cloths are preferred over plastic, as they absorb paint and reduce slipping.
Bonus Prep Tips for Exterior Painting
If you’re preparing your home for painting on the outside, weather plays a big role.
- Check the forecast: avoid painting in rain, humidity above 85%, or temperatures below 50°F
- Remove loose paint and debris from siding and trim
- Secure shutters, downspouts, or fixtures that might be in the way
Exterior prep might take longer—but it’s crucial for paint to last against the elements.
Final Thoughts: Preparation Pays Off
You don’t need to be a pro to understand that preparing your home for painting makes all the difference. A few hours of prep can add years to your paint job—and save you from frustrating mistakes.
To recap, your prep checklist includes:
- Cleaning surfaces
- Making repairs
- Sanding and priming
- Taping off trim and protecting nearby surfaces
- Allowing time for everything to dry
Whether you’re hiring painters or going DIY, don’t rush the prep. It’s the foundation of a beautiful, lasting finish. And if you’re unsure where to start, a local painting professional can always help guide you through it.
Ready to see your home in a fresh coat of color? Just remember: every great paint job starts before the brush even touches the wall.